Essential Home Repair Hacks You’ll Wish You Knew Sooner
Use Aluminum Foil To Sharpen Scissors
You might be surprised to hear that a simple sheet of aluminum foil can actually sharpen your scissors! If you’ve ever struggled to cut something because your scissors just aren’t as sharp as they used to be, this trick is for you.
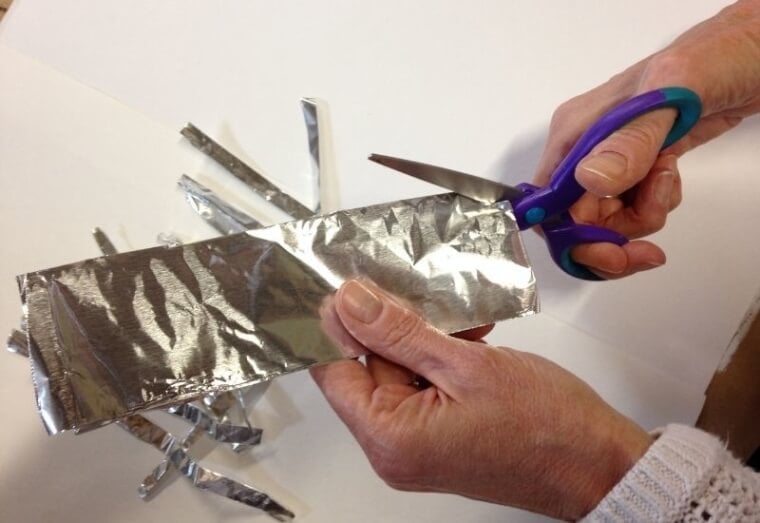
To give your scissors a quick boost, fold a sheet of aluminum foil in half. Then, using your scissors, make about eight cuts through the foil. This action helps hone the blades and can significantly improve their sharpness.
After a few snips, you should notice a difference in how well your scissors cut. It’s an easy and effective way to restore them without the need for professional sharpening. So the next time your scissors are feeling dull, just grab some aluminum foil and give it a try!
Use A Regular Pencil To Free A Stuck Lock
We’ve all been there—a jammed lock that just won’t budge when you try to insert your key. While it might be tempting to call a locksmith right away, there’s a simple and cost-effective solution you can try first.
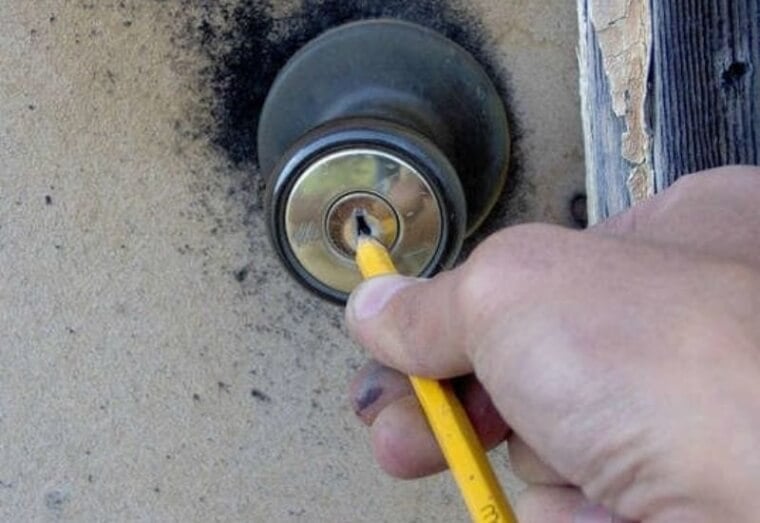
Grab a sharpened pencil and insert it into the lock. As you do this, let the pencil lead coat the interior of the lock with graphite. Graphite acts as a natural lubricant, making it easier for your key to slide in and turn.
After applying the graphite, give it a try! You might be surprised at how smoothly your key goes in now. This quick fix can save you both time and money, getting you back in without the hassle of a locksmith. So next time you’re facing a stubborn lock, reach for that pencil before making any calls!
Remove Snags In Woven Rugs To Make Them Look Like New
Rugs can lose their charm over time, especially when small snags start to pop up. But don’t worry—there’s a simple fix for that!
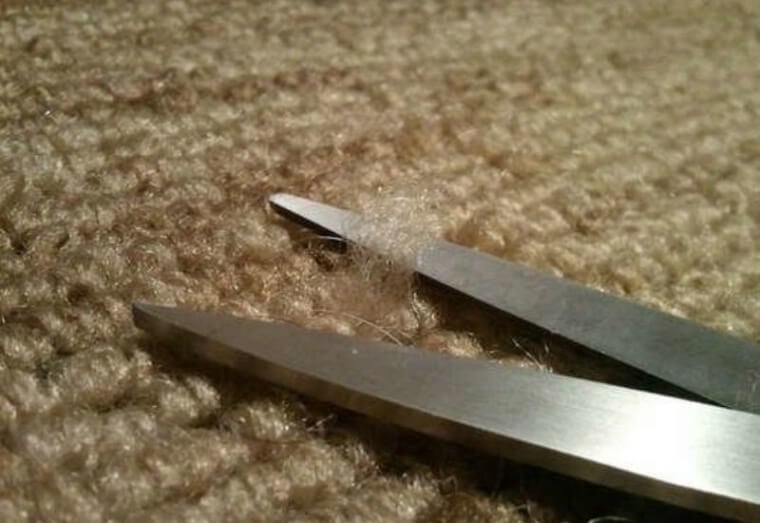
Start by carefully trimming away the frayed edges of each snag with a pair of scissors. This will help clean up the appearance of the rug. Next, take a small amount of fabric adhesive and apply it to the area of the rug’s foundation where the snag originated.
To keep everything in place while the adhesive dries, place a piece of wax paper over the area and set a heavy book on top. Leave it like that for about four hours to ensure a strong bond.
With this quick and easy method, you can give your rug a refreshed look and extend its life!
Use Zip Ties To Unclog Blocked Drains
Clogged drains can be a real hassle, but before you consider calling in a professional—who can get pricey—there’s a budget-friendly DIY solution you can try with just some zip ties!
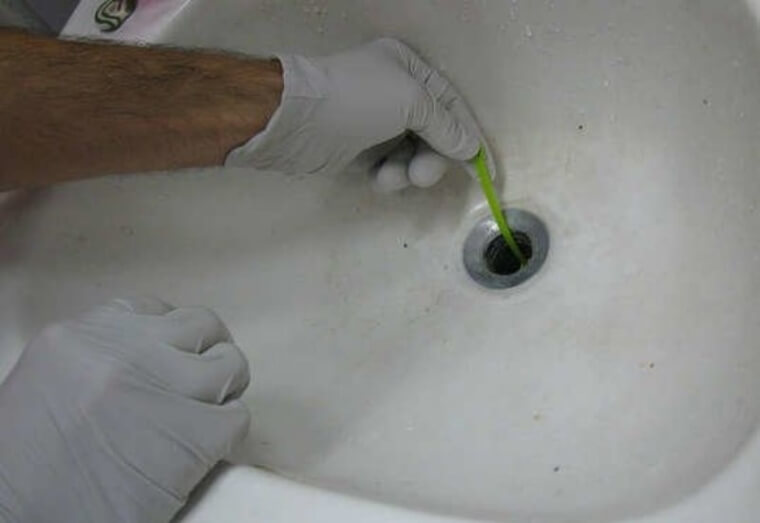
Here’s how to tackle the blockage: First, take a few zip ties and connect them by interlocking. Then, using wire cutters, carefully create some sharp points on the ends of the ties. Be cautious during this step to avoid injury!
Once you have your makeshift tool ready, gently insert the zip ties into the drain. The sharp projections will help catch and dislodge any debris that’s causing the blockage.
This method is simple, effective, and can save you some money while getting your drains flowing smoothly again. Give it a try next time you face a stubborn clog!
Use Cat Litter To Remove Oil Stains
Oil stains on driveways are all too common, whether they come from a car leak or an accidental spill during an oil change. But don’t worry—there’s an effective solution that you might already have on hand: cat litter!
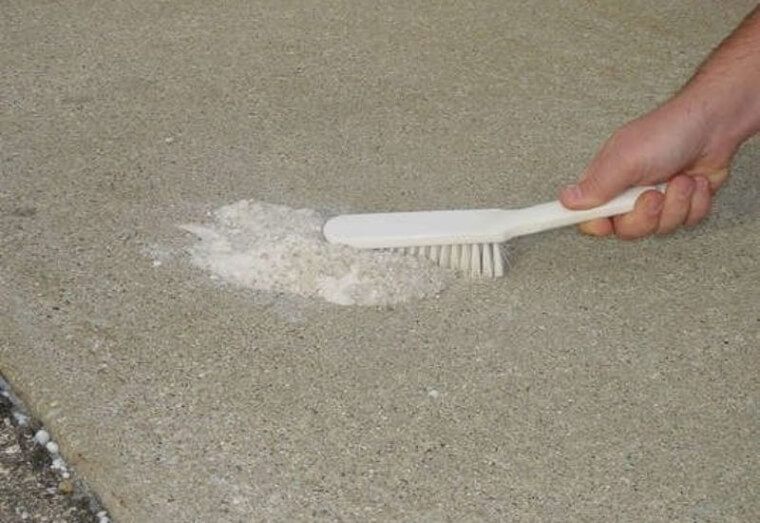
Here’s how to tackle those pesky stains: First, generously cover the entire stain with cat litter. Let it sit for about 15 minutes. This allows the litter to absorb the oil. After that, use a broom or your foot to crush the litter into the stain for even better absorption.
Next, sprinkle some detergent over the area and grab a stiff brush to scrub it in. This will help lift the stain from the surface. Finally, rinse the area with water to wash away the debris.
With this simple method, you can say goodbye to those stubborn oil stains and restore your driveway to its former glory!
Measure Out The Depth Of Holes With Some Tape
When installing shelves, you often need to create a predrilled hole for screws. But figuring out the right depth can be tricky! Here’s a simple method to get it just right.
First, take the screw you’re planning to use and align it with the end of your drill bit. This will give you a clear idea of how deep you need to go. Next, take a piece of tape and wrap it around the drill bit at the point that matches the length of the screw. Make sure to mark the tape so you know exactly where to stop drilling.
This way, when you’re drilling, you’ll have a visual cue that tells you when to stop. It’s a straightforward technique that can help ensure a perfect fit for your screws, making the installation process much smoother. Happy drilling!
Use A Small Magnet To Keep Nails In Place
If you’re looking to level up your tool collection, here are two incredibly handy items to add: a magnet and some adhesive. One great use for this duo is to create a convenient storage spot for your nails while you work.
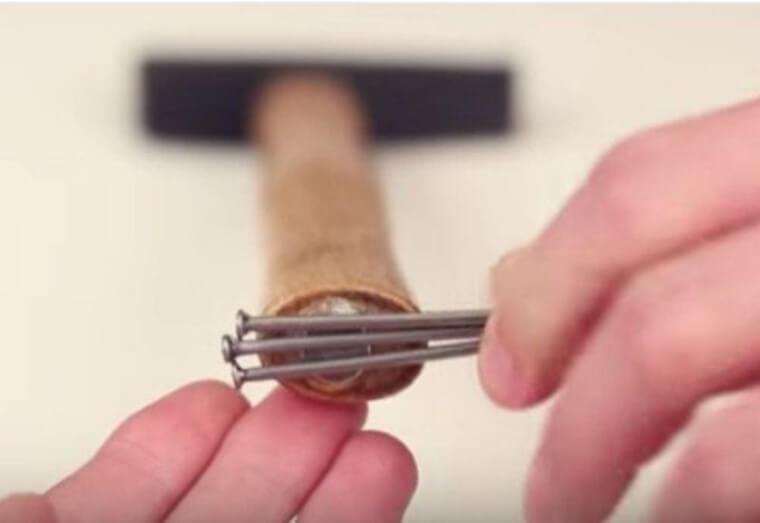
To get started, simply attach a strong magnet to the underside of your hammer’s handle using the adhesive. Give it some time to cure properly. Once it’s secure, you’ll have a perfect spot to hold your nails while you’re busy with your project. No more fumbling around for nails or accidentally knocking them over!
This simple hack not only keeps your workspace tidy but also makes your projects go a lot smoother. So, grab that magnet and adhesive, and make your hammer even more functional!

Use Foil To Line Paint Your Trays
When it comes to home repairs, sometimes a fresh coat of paint is essential to finish the job. But let’s be honest—cleaning up leftover paint can be a real hassle and often discourages us from getting started.
Here’s a simple tip to make your painting process smoother: cover your painting tray with aluminum foil before you pour in the paint. This way, when you’re done painting, all you have to do is remove the foil and toss it away. You’ll save yourself from the tedious scrubbing and can get back to enjoying your newly painted space!
It’s a quick and easy trick that minimizes cleanup and makes the whole painting experience much more enjoyable. So next time you’re ready to paint, don’t forget this little hack!

Remove Excess Paint With A Few Rubber Bands
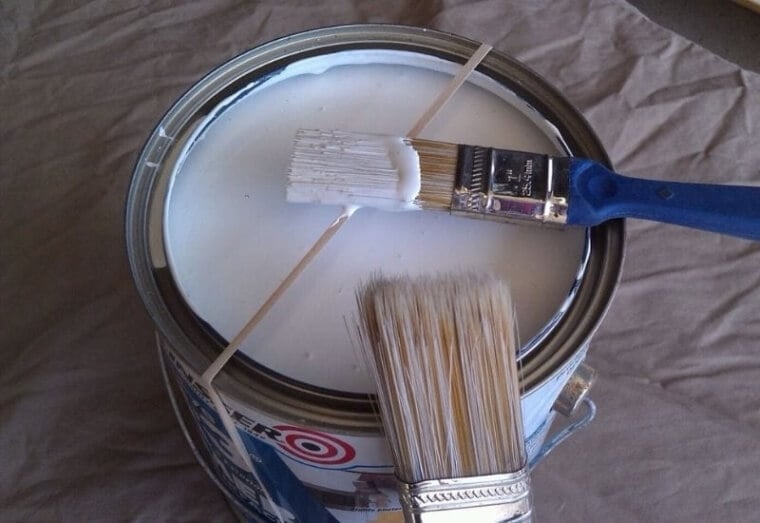
Using a rubber band is a clever and easy trick to keep your paint can tidy while you work! To get started, choose a rubber band that’s wide enough to go around the entire circumference of the paint can.
Once you’ve removed the lid, stretch the rubber band over the top edge of the can. This creates a neat surface for wiping your paintbrush. When you dip your brush into the paint, you can easily scrape off the excess paint against the rubber band. This way, you won’t end up with drips or smudges around the rim of the can or on your workspace.
It’s a simple solution that makes the whole painting process cleaner and more efficient. Give it a try next time you’re tackling a painting project!
